Make It Yours, Keep It Reversible

Welcome! Today we explore rental-friendly apartment upgrades—reversible changes that look custom—so you can create a space that reflects you without risking your deposit. Discover clever wall treatments, lighting tricks, storage solutions, and kitchen or bath refreshes that install fast, remove cleanly, and impress guests. Expect actionable checklists, sourcing tips, and lived-in advice from real renters. Ask questions, share your wins, and subscribe for more practical, stylish ideas you can confidently implement this weekend.

Plan Like a Pro, Leave No Trace

Walls That Wow Without Paint Cans

Choose patterns that complement room size: small prints for intimacy, larger repeats for statement walls. Order an extra roll to account for matching and future touch-ups. Clean walls thoroughly, snap chalk lines, and smooth with a felt squeegee to prevent bubbles. Overlap seams slightly, then trim with a sharp blade. When removing, warm adhesive gently and pull slowly at a shallow angle to protect paint and reuse panels later.
Create architectural character using lightweight foam trim and removable mounting strips. Outline frames that echo door heights, or mimic a classic picture rail with a contrasting tape line. Suspend art from discreet cords for a historically inspired effect without nails. Choose paints-on strips only if allowed; otherwise, coordinate trim colors with existing neutrals. The result adds elegant structure, directs sightlines, and instantly elevates rented rooms—no permanent carpentry required.
Design your layout on the floor, then transfer using kraft paper templates and a level. Mix frame sizes, mats, and finishes, ensuring each piece stays within the adhesive’s weight rating. Use pairs of strips per frame for stability, and press firmly per instructions. For removal, pull tabs straight down to release cleanly. Swap seasonal art easily, store templates in a folder, and update the display when inspiration strikes.

Light It Up, No Electrician Required

Plug-In Sconces as Architectural Anchors

Mount plug-in sconces above nightstands or flanking a sofa to frame zones like a built-in. Choose adjustable arms for flexible reading light and fabric cords that complement existing finishes. Hide slack with cord covers aligned to trim lines. If drilling is restricted, use removable anchors or picture-hanging systems rated for the fixture’s weight. The visual symmetry adds instant polish and depth without opening walls or calling an electrician.

Smart Bulbs and Scenes for Atmosphere

Mount plug-in sconces above nightstands or flanking a sofa to frame zones like a built-in. Choose adjustable arms for flexible reading light and fabric cords that complement existing finishes. Hide slack with cord covers aligned to trim lines. If drilling is restricted, use removable anchors or picture-hanging systems rated for the fixture’s weight. The visual symmetry adds instant polish and depth without opening walls or calling an electrician.

Cord Management That Disappears

Mount plug-in sconces above nightstands or flanking a sofa to frame zones like a built-in. Choose adjustable arms for flexible reading light and fabric cords that complement existing finishes. Hide slack with cord covers aligned to trim lines. If drilling is restricted, use removable anchors or picture-hanging systems rated for the fixture’s weight. The visual symmetry adds instant polish and depth without opening walls or calling an electrician.

Storage That Feels Built-In But Isn’t

Maximize every inch with freestanding units styled to mimic millwork, pressure-mounted closet systems, and modular cubes that stack securely. Balance closed storage for clutter control with open shelves for personality. Add toe-kick lighting or crown-like trim using removable tapes for an integrated look. Choose finishes that echo existing doors and floors to create cohesion. Share your floor plan and we’ll suggest renter-safe configurations that look intentionally permanent yet leave zero scars.
Combine tall cases, bridge shelves, and adjustable uprights to frame a media center or home office. Use removable mounting putty to stabilize side panels and felt pads to protect floors. Apply thin, removable trim to span gaps, then style with repeat textures and colors for unity. Add motion-sensor LED strips beneath shelves for subtle glow. The result reads custom, but breaks down flat when it’s time to move.
Deploy tension rods, hanging drawers, and fabric cubbies to create a flexible wardrobe zone without new holes. Measure carefully to avoid wall bowing, and distribute weight across multiple supports. Incorporate slim bins for accessories, cedar blocks for freshness, and consistent hangers for a boutique feel. Document your configuration so you can reassemble quickly in a new place. Enjoy a tailored closet that disassembles in minutes, leaving paint untouched.

Kitchen and Bath Glow-Ups You Can Undo

Refresh hardworking rooms with removable backsplash tiles, tension shelving, magnetic knife solutions, and hardware swaps that install in minutes. Add peel-and-stick floor tiles rated for rental surfaces, and protect counters with extra-large boards or fitted covers. Suction or clamp organizers increase vertical capacity without drilling. Document storage of original parts and keep a tiny repair kit ready. Share your before-and-after photos to inspire other renters navigating tight footprints and tight leases.

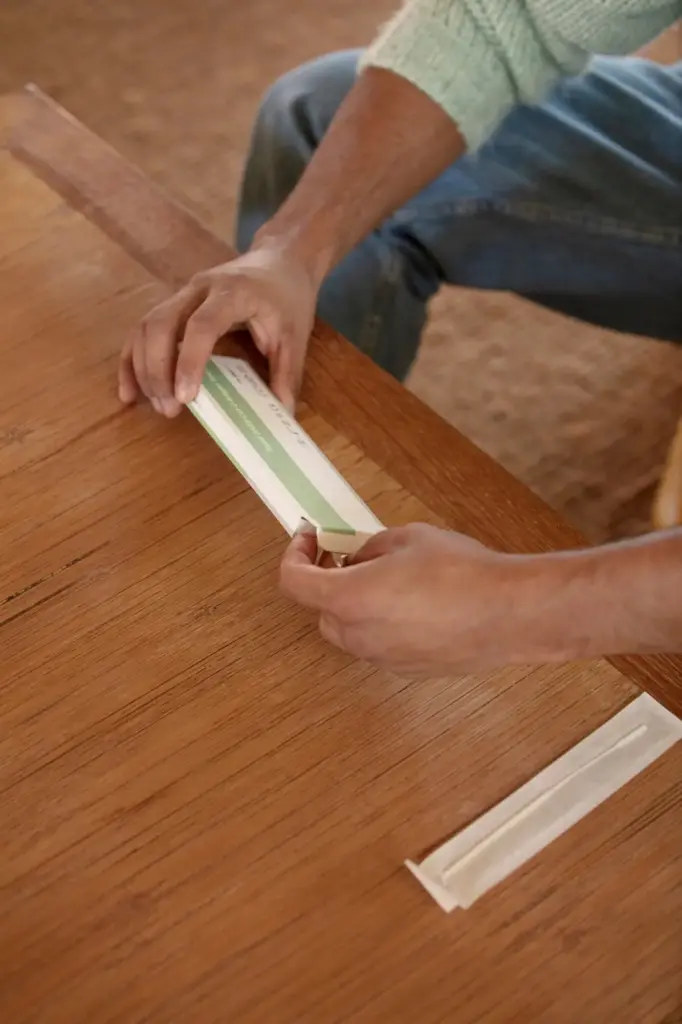
Backsplashes and Surfaces That Peel Away

Select heat- and humidity-tolerant peel-and-stick tiles, degrease walls thoroughly, and dry-fit before peeling liners. Align grout lines with a level, trim outlets carefully, and save offcuts for future repairs. In baths, use waterproof panels around vanities, avoiding direct shower spray. For counters, consider reversible covers instead of aggressive adhesives. When it’s time to move, warm seams and remove slowly, then clean residue with gentle citrus-based products that protect original finishes.

Hardware Swaps With a Safe Return

Change knobs and pulls to elevate cabinets instantly, measuring screw length to avoid door punctures. Store original hardware by room in labeled bags, and photograph hinge orientations for easy reinstalling. Use backplates to conceal prior wear and create a polished finish. Consider magnetic bars on the fridge side for knives, avoiding tile penetrations. Before move-out, swap everything back, wipe surfaces, and enjoy designer hardware in your next home.

Drapery Tricks to Raise Ceilings

Mount rods higher and wider than windows to exaggerate height, using tension solutions when holes aren’t allowed. Choose lined panels for body and blackout for restful bedrooms. Hem with fusible tape, not sewing, for reversible tailoring. If walls are textured, consider ceiling tracks with removable adhesive pads. Coordinate fabric tones with existing trim and floors for cohesion. The result feels bespoke, even when the hardware detaches in minutes.

Rug Layering That Defines Rooms

Start with a large, neutral base rug to anchor furniture, then layer a smaller vintage or patterned rug on top for character. Use low-tack rug-to-rug pads to prevent drift without residue. Rotate seasonally to refresh patterns and even wear. In open studios, layers delineate zones without partitions. Choose plush piles for sound absorption, protecting neighborly peace. Quick to roll up, these layers travel beautifully to future homes.

Budget, Sourcing, and Sustainability for Renters

Design beautifully without overspending by combining secondhand finds, rentable tools, and removable materials chosen for durability and reuse. Track cost-per-use, prioritize upgrades impacting daily rituals, and buy neutral foundations that adapt to future layouts. Choose low-VOC options and recycle packaging thoughtfully. We include negotiation tips, a simple spreadsheet template, and a sourcing map. Share your budget and location, and we’ll recommend shops, swaps, and material choices that stretch every dollar.

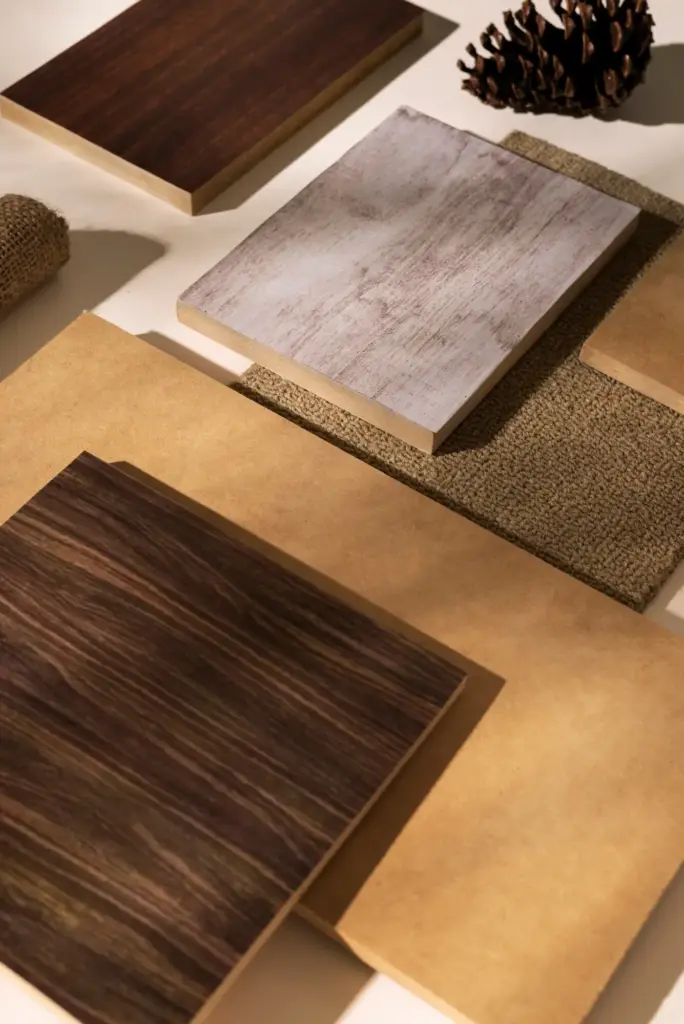
Secondhand Wins and Upcycled Charm

Hunt for solid wood pieces, sturdy metal frames, and vintage lighting that rewires into plug-in glam. Refresh surfaces with removable wax finishes or peel-and-stick veneer. Swap dated knobs for modern pulls, saving originals carefully. Look for pairs—lamps, chairs—for instant cohesion. Verify dimensions before purchase, and protect floors with felt pads. Resell thoughtfully when moving; quality items hold value, keeping your project circular, stylish, and surprisingly affordable.

Rent, Borrow, or Share Tools

Skip owning niche gear. Use local tool libraries, hardware store rentals, or neighbor swaps for lasers, tall ladders, and carpet rollers. Keep a compact kit: multi-bit screwdriver, tape measure, level, stud finder, gentle adhesive remover, and spackle. Learn each product’s cure time to prevent rushed removal. Photograph barcodes and manuals for easy returns. This approach reduces clutter, saves money, and ensures you always have the right tool on hand.

Talk to Your Landlord and Prepare to Move

Communication and documentation protect your deposit and peace of mind. Ask permission with specifics, include product links, and promise a complete restoration. Photograph every room before, during, and after upgrades. Schedule time for patching, cleaning, and careful removal, using gentle techniques that respect original finishes. Conduct a walkthrough with notes, then celebrate a deposit returned in full. Comment with landlord questions, and the community will share successful scripts and tips.
Lerarinalaxomutumipeza
Privacy Overview

This website uses cookies so that we can provide you with the best user experience possible. Cookie information is stored in your browser and performs functions such as recognising you when you return to our website and helping our team to understand which sections of the website you find most interesting and useful.